This Document introduces OnPing Users to the Alarm Creator feature. We will identify each basic element of the Alarm Creator, including what the Alarm Creator is, how to find the Alarm Creator, how to edit Alarms, where they are stored, and the individual Components that make up an Alarm.
This document should be used as a reference for information about the Alarm Creator feature. If you are looking for a practical walkthrough of the Alarm creation process, please refer to the documentation for Creating an Alarm, or check out the YouTube guide for creating alarms in OnPing.
What is Alarm Creator?
As the name implies, Alarm Creator is a static tool for creating Alarms in OnPing. Unlike Widgets, static tools are located on a fixed page and cannot be added to a panel. Instead, Users can find Static pages and tools by following links.
How To Access the Alarm Creator
Alarm Creator is located in the Alarms static page. For most users, this is found in the bookmark section.
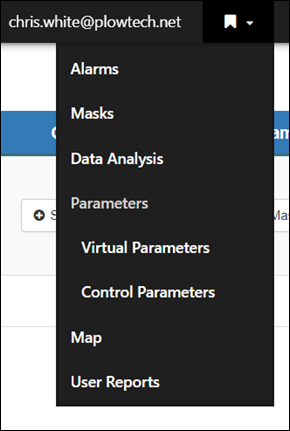
Bookmarks are located near the OnPing search bar at the top of the page
Another way to find the tools is by searching directly for the address name while logged in as an OnPing User (https://onping.plowtech.net/v3/alarm/creator).
Alarm Editor and Alarm Storage
Alarms need a few pieces of information in order to actually do anything. They are complex! When you arrive at the Alarm Creator page, you will see two options: Create Alarms and Existing Alarms.
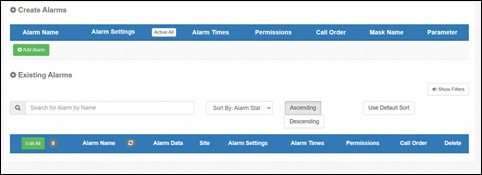
Two sections are available in Alarms. The first is ‘Create Alarms’ and the second is ‘Existing Alarms.
Create Alarms
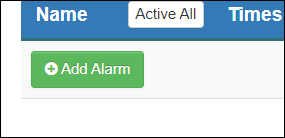
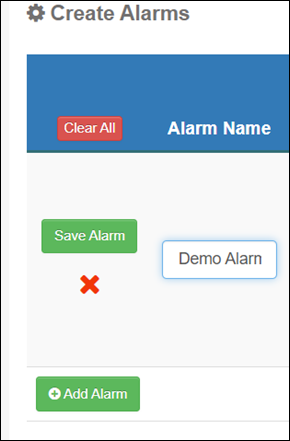
‘Create Alarms’ is the Alarm Editor in OnPing. This is where Users will create new Alarms, configure initial settings, and edit existing Alarms. Click ‘Add Alarm’ to get started. We’ll return to the settings in the Alarm Components section.
Existing Alarms
Existing Alarms stores all Alarms you can access, provides a summary of their settings, and enables Users to edit them.
Find an Alarm using the sorting feature at the top of this section.
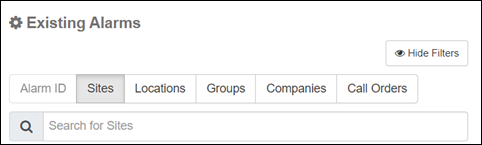
Note that Alarms can be sorted in several ways. Organize them by Site, Location, Group, Company, or Call Order to find Alarms in whatever way makes sense for you. If you already know the Alarm you are looking for, search for it directly using the Alarm ID.
Edit Existing Alarm
To edit an existing Alarm, filter for the one that needs to be changed, then click the ‘Edit’ icon.
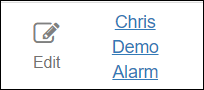
This will move the selected Alarm to the Alarm Editor at the top of the page.
Mass Alarm Activation/Deactivation
The Alarm Editor can hold multiple alarms at once. When working on multiple alarms, the ‘Active All’ button under ‘Alarm Settings’ can be helpful.
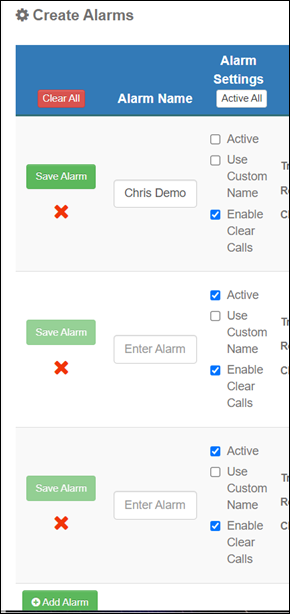
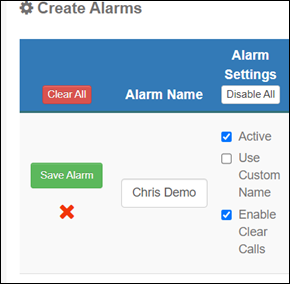
Use ‘Active All’ to active every Alarm in the Editor. If all Alarms are Active, the button will present an option to ‘Disable All’ Alarms.
Alarm Components
Alarms are pretty complex, and they require several pieces of information to work properly. The information used to organize an Alarm is referred to here as an Alarm Components.
Alarm Components are the seven column headings at the top of the ‘Create Alarms’ table: Name, Settings, Alarm Times, Permissions, Call Order, Mask Name, and Parameters. Each Component needs to be set in order to create a new Alarm.

Alarm Name
Alarm Name is simply the name the Alarm will appear under. This name may be changed later, but careful consideration is recommended when naming an Alarm.
Alarm Names should help Users identify what is happening and where the Event is taking place. Good name choices will assist with troubleshooting and reduce downtime!
Permissions
Permissions determine which Users can access or edit information about an Alarm.
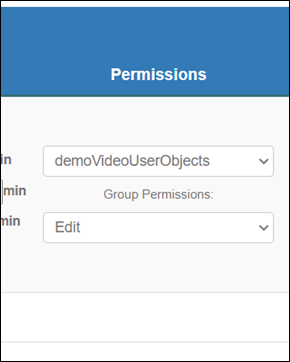
The selected Group will be assigned control of the Alarm.
***
Users may only set permissions to a group they:
- Belong to
- Have group seniority over
***
The Permissions component determines management responsibilities. Alarm callout recipients are determined by the assigned Call Order.
Call Order
The Call Order component sets call out protocols for an Alarm. The Alarm Creator page can only access and assign existing Call Orders to an Alarm. For information regarding configuration, refer to the “Introduction to Call Orders” support document.
Mask Name
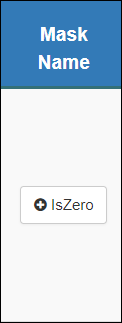
Masks process information from Parameters for Alarms. The Alarm is tripped when a Mask returns ‘True’ or a non-zero numerical value.
***
Tip: The built-in ‘IsZero’ mask can trigger an Alarm when the value reaches ‘0’.
***
Refer to ‘Mask’ support documentation for more information about Masks.
Parameters
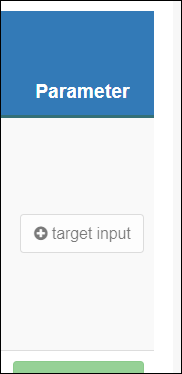
Parameters come from data streams in OnPing. The Parameter you select will be assigned to the Alarm, and the Mask will be applied to determine the alarm status.
Select the ‘Target Input’ button to search for available Parameters.
Control Parameter vs Virtual Parameters
While browsing, you may notice some Parameters with a ‘VP’ tag, as ilustrated below. VPs are Virtual Parameters. Alarms with Virtual Parameters are treated differently than Alarms with standard Control Parameters.
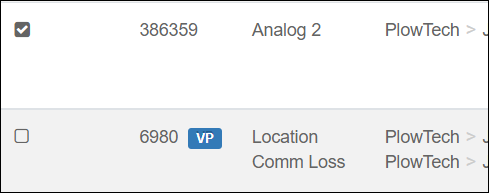
In this image, a Virtual Parameter is available.
Parameters can be changed later on, but an Alarm initialized with a normal Parameter cannot be changed to a Virtual Parameter. We will explore Virtual Alarms in greater detail with a separate document. For now, know they are available but treated differently.
Alarm Settings
The ‘Alarm Settings’ Component is divided into three sub-settings:
- Active
- Activate or deactivate an Alarm with this setting. An ‘Active’ Alarm will read the assigned Parameter and work through the set Alarm protocols when trip conditions are met. ‘Inactive’ Alarms are sleeping and will not trip.
- Use Custom Name
- ‘Custom Name’ uses the set ‘Alarm Name’ component when messages are sent to members of the ‘Call Order’. Without ‘Custom Name’, Alarm information for a call-out will be generated from information contained in the assigned Parameter.
- Enable Clear Calls
- Enabling ‘Clear Calls’ will add a ‘Clear’ notification to the Alarm ‘Call Order’ message chain. By default, Alarms notify members of the ‘Call Order’ when an Alarm is tripped so that action can be taken. Clear calls notify the Alarm ‘Call Order’ that an action has successfully cleared an Alarm’s trip conditions.
Alarm Times
- Trip Time
- Sets the amount of time between when an alarm trip condition has been met and when a callout protocol is initiated.
- Recall Time
- Sets the interval between Alarm protocols if a tripped alarm has not been cleared.
- Clear Time
- Sets the interval between when an Alarm has been ‘cleared’ and when a call notifying the Call Order of the ‘clear’ will be made.
Component Summary
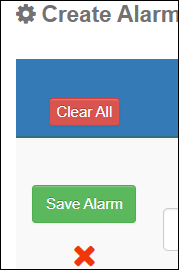
It is recommended to set protocols in the order listed in this guide. After completing the configuration, click ‘Save Alarm’. The button is located on the left side of the Alarm Editor.
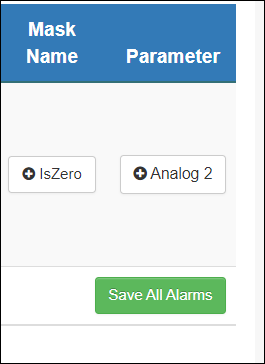
If working on multiple alarms, use the ‘Save All Alarms’ button located in the bottom right corner of the editor.
Where is the Alarm now?
After saving, the new Alarm will be moved to the ‘Existing Alarms’ section. You can now use this Alarm in HMIs or Alarm Tables.
Summary
This guide is intended as reference material for the Alarm Creator. This feature uses several other features, including masks and Parameters, which have separate documentation. If you have questions about Alarm Creation that are not answered here, email us at info@OnPing.net or contact your OnPing representative for assistance.
Was this article helpful?
That’s Great!
Thank you for your feedback
Sorry! We couldn't be helpful
Thank you for your feedback
Feedback sent
We appreciate your effort and will try to fix the article