A Status Indicator can be a great way of quickly determining the functionality of vital processes and equipment. You can add a status indicator by following these simple steps.
1) Log in to your dashboard and click “Edit Dashboard.”
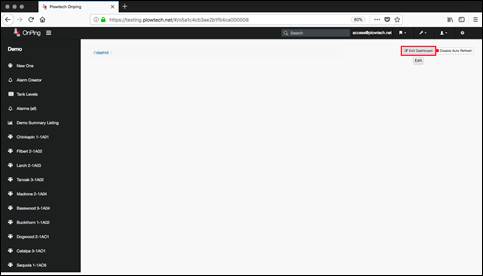
2) Go to the panel where you’d like to place a status indicator and click “New Widget”.
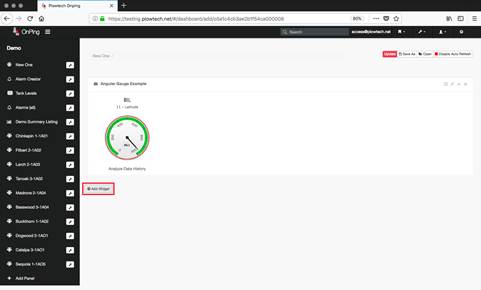
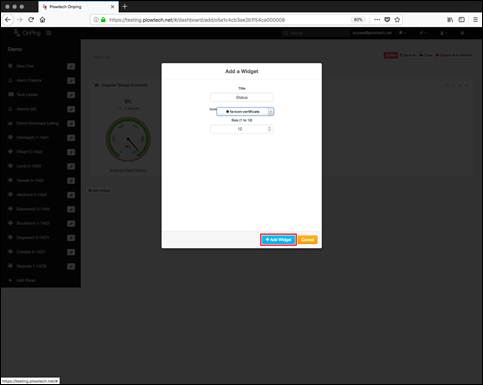
3) Give the new widget a name and icon, then click, “+ Add Widget” and then “Add Content to this Widget”.
4) Choose Gauge > Status Indicator from the left-hand menu.
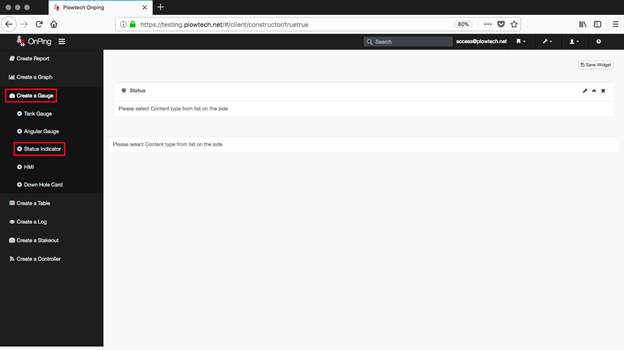
5) Now that you have selected to create a status indicator, you must now edit parameters to provide a source for data. So, click on “Parameters” on the next screen.
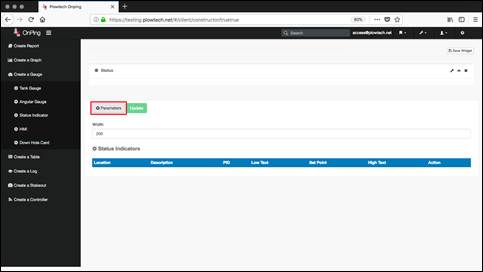
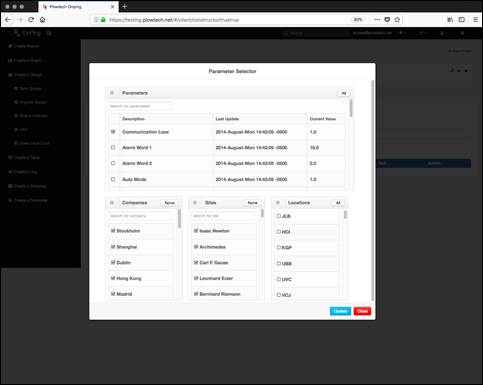
6) Use the table to choose your site and data point.
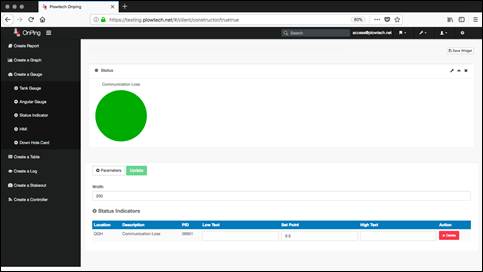
7) You can use the small table beneath the status indicator to add text or make changes to size and position.
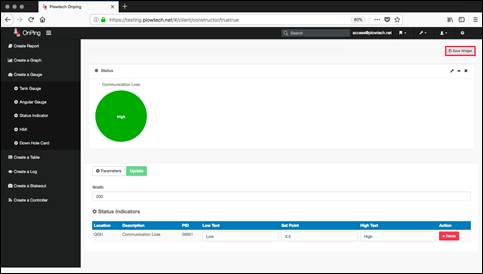
8) When everything looks good, click "Save Widget" to save this indicator
If you have any thoughts, ideas, or questions, please feel free to leave a comment below or use the contact feature at www.onping.net
Was this article helpful?
That’s Great!
Thank you for your feedback
Sorry! We couldn't be helpful
Thank you for your feedback
Feedback sent
We appreciate your effort and will try to fix the article