- Create a custom table for the new map layer (see Creating A Custom Table)
- If creating a new dashboard for the table, save the dashboard before proceeding.
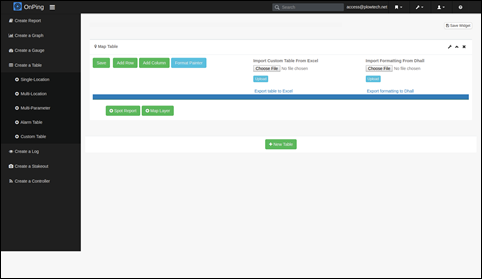
- If creating a new dashboard for the table, save the dashboard before proceeding.
- Add data to the custom table
- Create a column for location names
- Create a column for location coordinates
- Create a column for the value that will determine the icon
- Add additional columns that you would like to see in the “More Info” section of the m
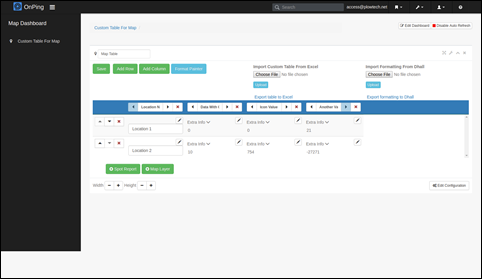
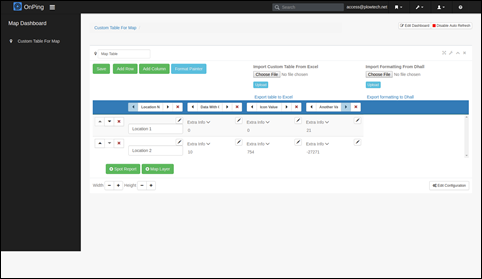
- Save the custom table.
- Click the “+ Map Layer” button below the table.
- Fill in the layer name and description. Select the correct name, location, and icon columns. Check any columns you wish to see in the “More Info” section of the map
- If desired, add any number of icon rules by pressing the “+ Icon Rule” button.
- Each icon rule consists of an icon, a color for the icon, and a condition. For each location, the first condition that the icon column value matches determines the icon and its color. If no rule applies, the location will appear as a black droplet.
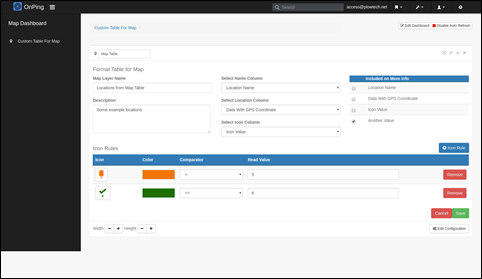
- Each icon rule consists of an icon, a color for the icon, and a condition. For each location, the first condition that the icon column value matches determines the icon and its color. If no rule applies, the location will appear as a black droplet.
- Save the map layer with the save button at the lower right of the page.
- Note that if the order of the icon, coordinates, or name columns change in the custom table, the map layer will need to be updated to match.
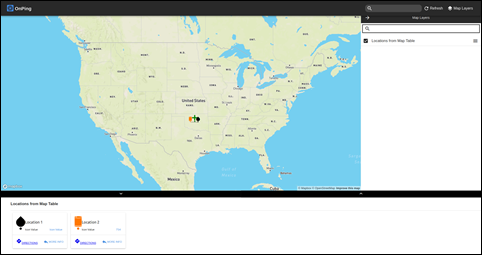
- Navigate to onping.plowtech.net/map to see your map layer.
Was this article helpful?
That’s Great!
Thank you for your feedback
Sorry! We couldn't be helpful
Thank you for your feedback
Feedback sent
We appreciate your effort and will try to fix the article